Belimo ZG-AFB118 : Mounting Kit For Foot Mount Installation
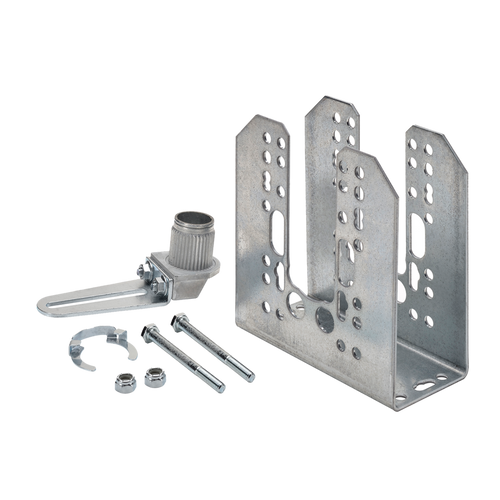
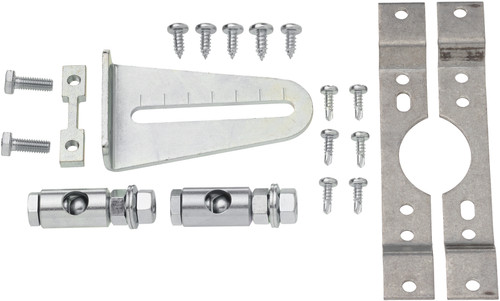
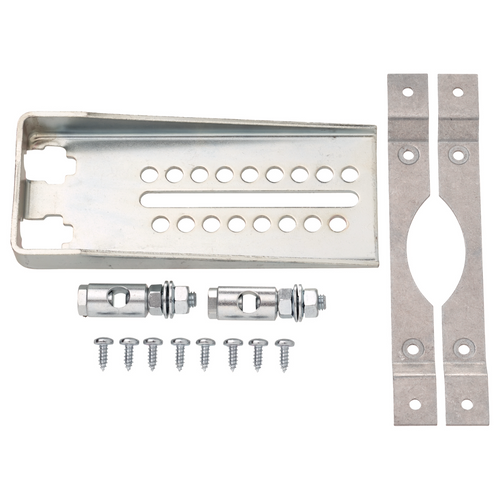
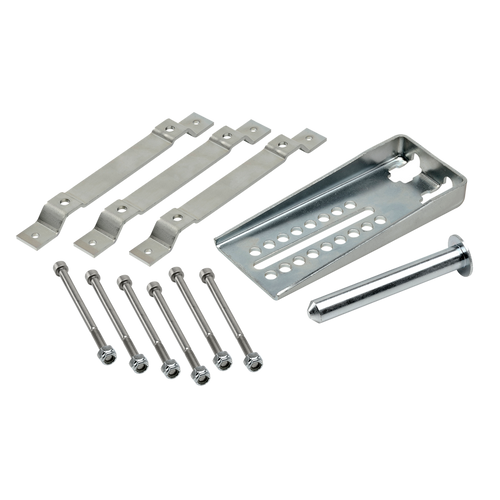
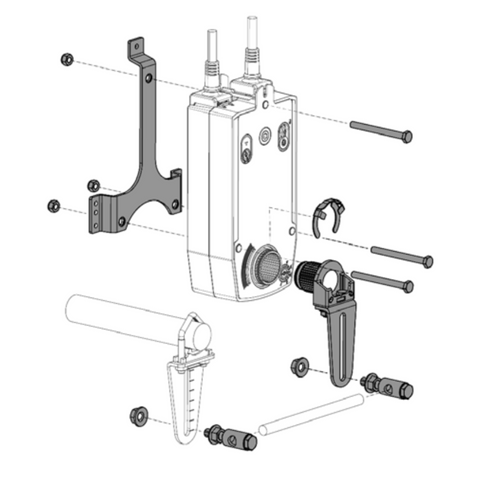
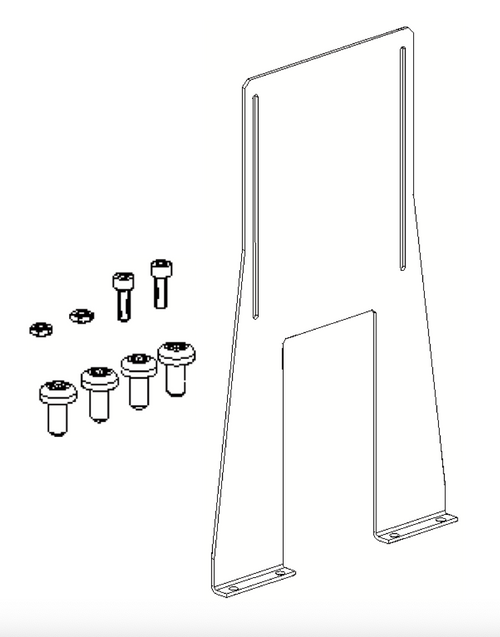
The ZG-AFB118 includes the ZG-118 universal mounting bracket and KH-AFB crankarm and is designed for applications where the actuator cannot be mounted directly to the damper shaft. It may be used for outside or inside the duct mounting. The ZG-118 is designed to mount the AFB, AFX, NFB and NFX actuators in the same mounting locations as common foot mounted, crankarm style actuators. Hole patterns in the base match common HoneywellTM, SiebeTM (Barber ColmanTM) and Johnson ControlsTM actuators for easy retrofit.
The ZG-118 is provided with hole patterns to mount the AFB, AFX, NFB and NFX actuators in either a horizontal or vertical position to meet space requirements. The KH-AFB crankarm is required to fully convert the AFB, AFX, NFB or NFX for crankarm operation.
Installation
- When using spring return actuators, care must be taken to select the proper mounting orientation for the correct fail-safe operation.
- If this is a new installation, position the ZG-118 mounting bracket in the planned mounting location. Do not fasten at this time.
- If this is a retrofit installation replacing common HoneywellTM, SiebeTM (Barber ColmanTM) or Johnson ControlsTM actuators, and the bolt pattern of the bracket matches the pattern of the previous actuator, fasten the bracket to the mounting surface. Mount the KH-AFB crankarm to the actuator. Proceed to step 6.
- Position the actuator in the desired mounting position (horizontal or vertical) on the ZG-118. Slide in the two mounting bolts and loosely tighten the lock nuts to temporarily hold the actuator to the bracket.
Note: The ZG-118 has hole patterns for three mounting heights for the crankarm location, choose the best height for the application.
- Mount the KH-AFB crankarm to the actuator in the required operating position.
- Position the bracket/actuator assembly in the best position for proper crankarm/linkage alignment. Mark the bracket position. Remove the actuator. Fasten the bracket to the mounting surface.
- Mount the actuator to the bracket using the two mounting bolts and lock nuts at the same height location as determined in step 3. Or, if a retrofit application, select the correct hole set so the crankarm location matches the crankarm of the actuator being replaced.
- Install the linkage assembly between the damper and actuator.
- Cycle the actuator through its operational range to verify correct linkage setup. The AFB, AFX, NFB and NFX may be manually operated without power available.
Datasheets
- Accessory Type:
- Mechanical Accessory
- Product Category:
- Crank Arm Adaptor Kits

